All Categories
Featured
Table of Contents
- – Cargo Trailer Repair Riverside, CA
- – OCRV Center
- – Travel Trailer Siding Repair Riverside, CA
- – Travel Trailer Furniture Riverside, CA
- – Travel Trailer Siding Repair Riverside, CA
- – Fifth Wheel Repair Near Me Riverside, CA
- – Trailer Floor Repair Riverside, CA
- – Travel Trailer Replacement Windows Riverside...
- – Rv Trailer Repair Shop Riverside, CA
- – Rv Travel Trailer Repair Near Me Riverside, CA
- – Travel Trailer Roof Replacement Riverside, CA
- – Rv Trailer Repair Near Me Riverside, CA
- – Rv Travel Trailer Repair Near Me Riverside, CA
- – Travel Trailer Ceiling Repair Riverside, CA
- – Travel Trailer Ceiling Repair Riverside, CA
- – Travel Trailer Floor Repair Riverside, CA
- – OCRV Center
Cargo Trailer Repair Riverside, CA
And then, brr, brr, ought to have the ability to simply drive some screws. Oh yep, so it's nice. The batten is simply imitating an actually huge washer to make certain that that material does not have the opportunity to tear with and come loose. That is most definitely going to hold that in area.
The next point inside right here is to look for a point where we obtain to great product, and after that tie right into that with a new piece in a way that structurally is gon na work. And likewise just is simple sufficient to do. Let me get some tools pulled with each other, and after that we'll look at out with the old and in with the new here.
Travel Trailer Siding Repair Riverside, CA
I've obtained a poor end, easily recognized, since that wood was in truly, really negative form. I'm looking for a part here where it obtains audio.
If I needed to return additionally with the system I'm about to make use of right here, I would be alright with that said. If in order to eliminate negative material, I needed to reduce here where I'm not over a steel frame component, I would certainly do that. What I have actually done so much is located the steel.
Travel Trailer Furniture Riverside, CA
And the following point, allow's obtain that bad spot reduced out. That went well. And I have actually already got a new piece cut.
There we go. And here's the important things. The trick to this are pieces of scrap plywood. And the way this is gon na job is we're gon na bridge that seam with those plywood scraps. Plywood is incredibly strong stuff. And coupled with the plywood, we're going to add glue and screws, and that is truly gon na make this generally much like having one lengthy item once more when we're done.
The last point we desire is for the plywood to wind up standing happy with the two-by product. Then bridge that seam concerning equally. I have got in my warm little hands, an additional item to go on that side. So I just need to obtain my platform off the beaten track right here.
Travel Trailer Siding Repair Riverside, CA
Since of utilizing that, that's part of the factor that I desired to make certain those battens obtained under the fabric. And the reason being that that mineral woollen, it's got some density to it.
So when I'm reducing this piece, the piece that's gon na fill in right here, I would like to keep the manufacturing facility edge on that particular end butting versus the manufacturing facility side that's already in position, and afterwards the cut side goes out below up versus the wall surface. Currently, if you have to do a trim, you have to do a trim, and in this situation I did.
Fifth Wheel Repair Near Me Riverside, CA
If you obtained ta do it, you got ta do it, however it in the best world, manufacturing facility edge to factory side right here on the lengthy seams, and on the brief joints where items are fulfilling. The other thing is that we desire to be fifty percent on a joist. What I suggest by that is that this portion of plywood is fifty percent on this joist, and after that the next piece of plywood is gon na come on below, so it's obtained something to be secured to, and that's simply a, you understand, a building guideline that you always follow when you're doing floor covering or roof covering.
There aren't any type of pieces of insulation laying on top of the framing. I have actually got, if you keep an eye out below, I have actually got these areas noted on the wall surface, to make sure that as I come along with a screw gun, much more on that particular in a second, I understand that sleeper, that joist exists, facility exists, facility is there.
Trailer Floor Repair Riverside, CA
I need to have an inch and a quarter staple entering into it. I do not have a stapler that'll do that, but I do own a screw gun that I can utilize to drive long screws. So I'm doing this with a screw weapon instead of a stapler. All right, a great deal of speaking, and allow's take a look at getting the plywood to come in.
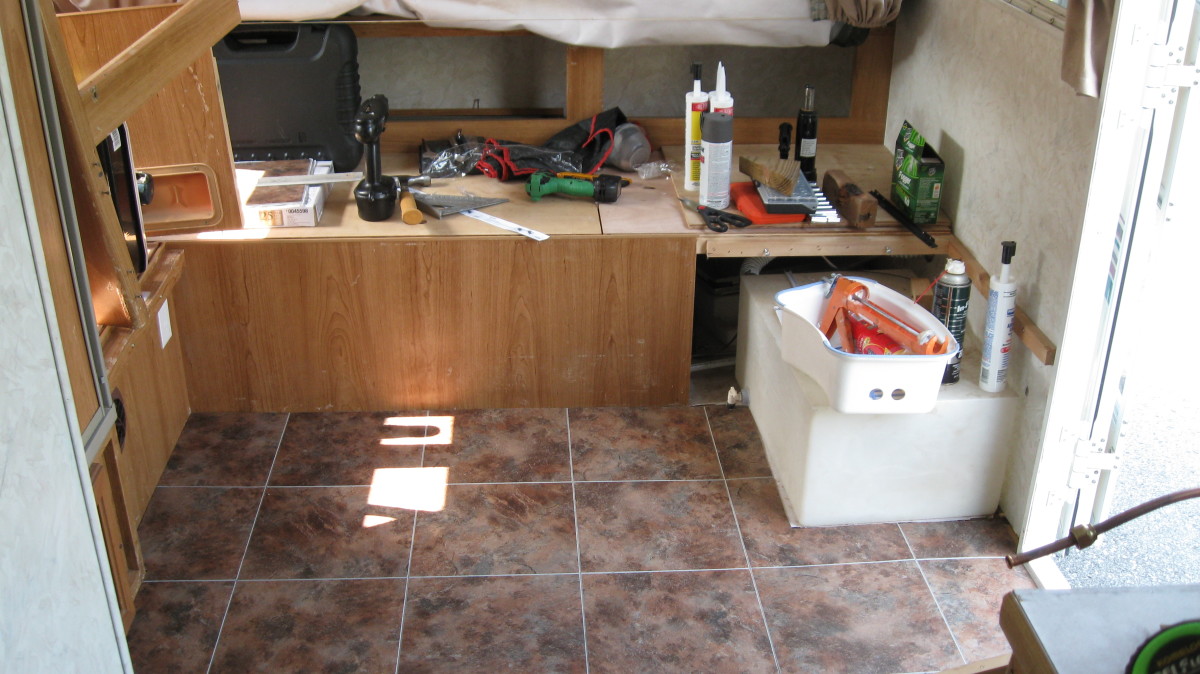
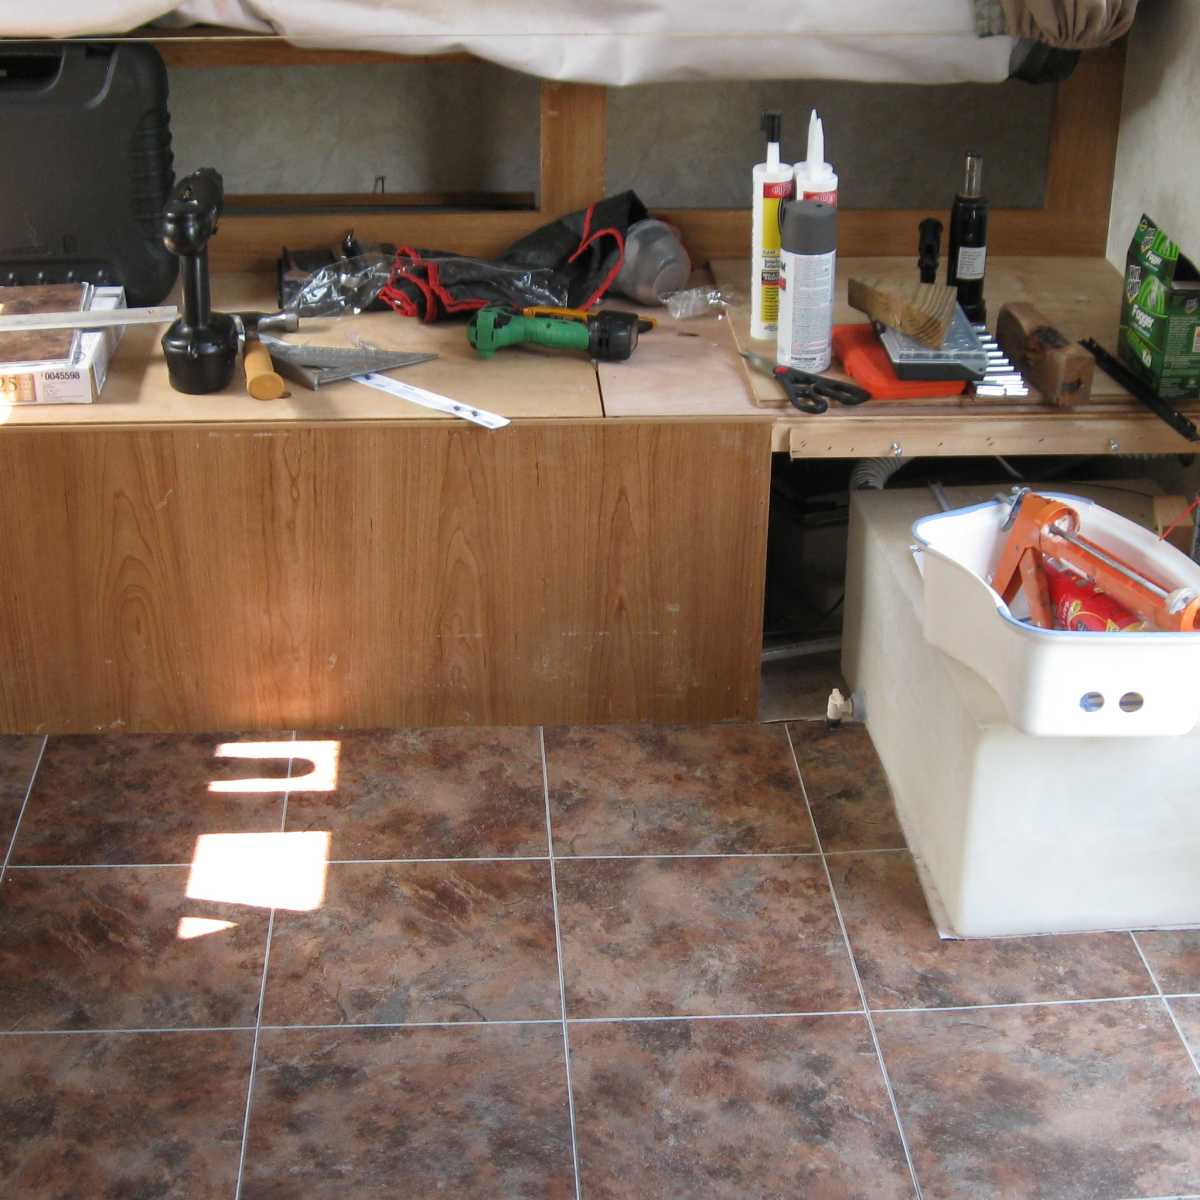
Well, we finished with a great deal of screwing around.The entire flooring was a great deal of screwing about. Just a lot of little picky things to do to obtain this right, however absolutely worth doing, since clearly there were some poor places in here that needed to go. Riverside Trailer Roof Repair. With those screws, if there's any type of area where you really feel like you could've missed, obtain a basic cordless screwdriver, back those screws out
Travel Trailer Replacement Windows Riverside, CA
That deals with this floor covering job, and it was intriguing, however I will certainly state, I am glad it's done.
Inspect the rotten area very closely. Examine nearby walls, home windows, the roofing above, and any kind of water lines or drain pipelines in the location.

When you have actually located every one of the soft areas, cut and peel back the laminate or rug to disclose the rotten subfloor. Some people choose to do this action really meticulously, reducing along the wall surface, so they have the ability to utilize the exact same flooring covering after the fixings are made. No matter how you tackle it, keep peeling off the flooring back in all instructions from the soft place till you find good, solid timber that is not blemished on all four sides.
Rv Trailer Repair Shop Riverside, CA
This can be done using a tiny saw to cut up the subfloor and a pry bar to dig the timber out. If there is foam under your subfloor, take care to get rid of the timber, yet not the foam. If there are wood assistances under your subfloor, you will certainly want to remove sufficient timber that you satisfy up with assistances on at the very least two sides and after that reduced the hole to be a straight-sided rectangular shape to make things later when adding brand-new wood.
You do not desire any broken timber continuing to be, as this can really create the brand-new timber to start to rot all over once more. Once the harmed subfloor is gone, let any kind of subjected timber framework and the wood around the soft place dry entirely. This might take a week or more, however it will help to ensure you won't encounter the precise same trouble as soon as you finish the recreational vehicle flooring replacement.
Rv Travel Trailer Repair Near Me Riverside, CA
Some selected to utilize antifreeze to eliminate any kind of mold that could still be about. This can be accomplished with a sprayer made use of to use the antifreeze to the surface of the timber, making certain to allow the timber dry for a week or more after. Another option that might be utilized to eliminate the mold and mildew is a borax option.
It is likewise feasible to infuse the epoxy into the timber for much more strengthening power. Relying on the hardener and epoxy that you buy, you will certainly have anywhere from a couple of mins to an hour to deal with it prior to it begins to set. Nevertheless, you will require to wait a week or more prior to the stuff hardens entirely.
Not sure which kind of floor covering is finest? Well, in areas that are prone to spills and dampness, like the bathroom and kitchen area, you'll probably desire a vinyl or laminate RV floor covering.
Travel Trailer Roof Replacement Riverside, CA
So this is a good application for it. As a result of using that, that's part of the reason that I intended to see to it those battens obtained under the fabric. And the reason being that that mineral wool, it's got some thickness to it. Currently it's not that resting there, I'm stressed about it giving in, particularly with the battens that I place underneath, however simply be mindful that if you make use of that it does have some weight to it, and you wan na ensure that that material under the camper is gon na sustain that.
So when I'm reducing this piece, the piece that's gon na complete below, I would love to keep the manufacturing facility edge on that particular end butting against the manufacturing facility side that's already in area, and afterwards the cut edge heads out here up versus the wall. Currently, if you need to do a trim, you need to do a trim, and in this instance I did.
Rv Trailer Repair Near Me Riverside, CA
So if you obtained ta do it, you obtained ta do it, yet it in the best globe, factory edge to manufacturing facility side here on the lengthy seams, and on the short joints where pieces are satisfying. The other thing is that we wish to be fifty percent on a joist. What I mean by that is that this chunk of plywood is fifty percent on this joist, and after that the next item of plywood is gon na come on here, so it's got something to be secured to, and that's just a, you understand, a building and construction guideline that you always follow when you're doing floor covering or roof covering.
There aren't any kind of chunks of insulation laying on top of the framing. I have obtained, if you watch out right here, I've got these locations noted on the wall surface, to ensure that as I go along with a screw weapon, extra on that particular in a 2nd, I recognize that sleeper, that joist exists, center is there, facility exists.
Rv Travel Trailer Repair Near Me Riverside, CA
I don't have a stapler that'll do that, but I do have a screw weapon that I can utilize to drive long screws. All right, a great deal of talking, and let's look at getting the plywood to come in.
Well, we ended with a great deal of screwing around.The whole floor was a great deal of screwing around. Just a lot of little picky points to do to get this right, but most definitely worth doing, due to the fact that obviously there were some poor areas in below that had to go. With those screws, if there's any place where you feel like you may've missed, get a typical cordless screwdriver, back those screws out.
That looks after this floor covering task, and it was fascinating, but I will claim, I rejoice it's done.
Inspect the rotten area closely. Check close-by walls, home windows, the roof covering above, and any kind of water lines or drain pipelines in the area.
Travel Trailer Ceiling Repair Riverside, CA
When you've located all of the soft areas, cut and peel back the laminate or rug to expose the rotten subfloor. Some individuals pick to do this step very thoroughly, cutting along the wall surface, so they are able to utilize the exact same floor covering after the fixings are made. Regardless of just how you deal with it, maintain peeling off the flooring back in all instructions from the soft area up until you find excellent, solid wood that is not blemished on all four sides.
This can be done making use of a tiny saw to reduce up the subfloor and a lever to dig the timber out. If there is foam under your subfloor, take care to get rid of the wood, yet not the foam. If there are wooden supports under your subfloor, you will certainly intend to get rid of enough timber that you satisfy up with supports on at the very least two sides and afterwards reduced the hole to be a straight-sided rectangular shape to make things later when including new timber.
Travel Trailer Ceiling Repair Riverside, CA
You don't desire any damaged timber staying, as this can really cause the new timber to start to rot all over once again. Once the harmed subfloor is gone, allow any revealed timber framing and the timber around the soft place dry completely. This can take a week or even more, yet it will assist to guarantee you will not run into the exact very same trouble when you complete the motor home floor replacement.
Some chose to utilize antifreeze to kill any mold and mildew that may still be around. This can be completed with a sprayer utilized to use the antifreeze to the surface area of the wood, making sure to allow the wood completely dry for a week or even more after. An additional alternative that can be utilized to eliminate the mold is a borax service.
Travel Trailer Floor Repair Riverside, CA
It is likewise feasible to inject the epoxy into the timber for a lot more strengthening power. Depending on the hardener and epoxy that you buy, you will have anywhere from a few mins to an hour to function with it before it starts to solidify. Nevertheless, you will certainly need to wait a week or 2 before the things hardens entirely.
Not sure which kind of flooring is ideal? Well, in locations that are susceptible to spills and wetness, like the shower room and kitchen, you'll possibly desire a vinyl or laminate Recreational vehicle floor covering.
Cargo Trailer Repair Riverside, CATravel Trailer Ceiling Repair Riverside, CA
Travel Trailer Replacement Windows Riverside, CA
Fifth Wheel Service Riverside, CA
Trailer Window Replacement Riverside, CA
Trailer Restoration Riverside, CA
Travel Trailer Roof Replacement Riverside, CA
Travel Trailer Floor Repair Riverside, CA
Trailer Windows Replacement Riverside, CA
Travel Trailer Replacement Windows Riverside, CA
Travel Trailer Service Riverside, CA
Trailer Window Replacement Riverside, CA
Travel Trailer Siding Repair Riverside, CA
Rv Trailer Repair Near Me Riverside, CA
Horse Trailer Repairs Riverside, CA
Travel Trailer Service Riverside, CA
Travel Trailer Roof Replacement Riverside, CA
Travel Trailer Floor Repair Riverside, CA
Travel Trailer Service Riverside, CA
Trailer Window Replacement Riverside, CA
Travel Trailer Replacement Windows Riverside, CA
Travel Trailer Furniture Riverside, CA
Travel Trailer Floor Repair Riverside, CA
Trailer Floor Repair Riverside, CA
Fifth Wheel Repair Near Me Riverside, CA
5th Wheel Repair Near Me Riverside, CA
Horse Trailer Repair Near Me Riverside, CA
5th Wheel Repair Near Me Riverside, CA
Travel Trailer Awning Replacement Riverside, CA
Trailer Roof Repair Riverside, CA
Travel Trailer Repairs Riverside, CA
Camper Floor Repair Near Me Riverside, CA
Travel Trailer Roof Replacement Riverside, CA
Rv Travel Trailer Repair Near Me Riverside, CA
Cargo Trailer Repair Riverside, CA
5th Wheel Repair Near Me Riverside, CA
Trailer Windows Replacement Riverside, CA
Travel Trailer Ceiling Repair Riverside, CA
Trailer Roof Repair Riverside, CA
Trailer Floor Repair Riverside, CA
Camper Floor Repair Near Me Riverside, CA
Trailer Window Replacement Riverside, CA
Rv Trailer Repair Shops Near Me Riverside, CA
Rv Trailer Repair Shop Riverside, CA
Camping Trailer Repair Near Me Riverside, CA
Travel Trailer Siding Repair Riverside, CA
Travel Trailer Roof Replacement Riverside, CA
Travel Trailer Roof Replacement Riverside, CA
Travel Trailer Window Replacement Riverside, CA
Trailer Windows Replacement Riverside, CA
Travel Trailer Awning Replacement Riverside, CA
Travel Trailer Furniture Riverside, CA
5th Wheel Repair Near Me Riverside, CA
Rv Travel Trailer Repair Near Me Riverside, CA
5th Wheel Repair Near Me Riverside, CA
Rv Trailer Repair Shop Riverside, CA
Trailer Window Replacement Riverside, CA
Travel Trailer Awning Replacement Riverside, CA
Trailer Window Replacement Riverside, CA
Trailer Windows Replacement Riverside, CA
Travel Trailer Window Replacement Riverside, CA
Travel Trailer Floor Repair Riverside, CA
Camper Trailer Service Riverside, CA
Travel Trailer Repairs Riverside, CA
Travel Trailer Repairs Riverside, CA
Fifth Wheel Repair Near Me Riverside, CA
Rv Trailer Service Near Me Riverside, CA
Travel Trailer Replacement Windows Riverside, CA
Rv Trailer Repair Near Me Riverside, CA
Travel Trailer Replacement Windows Riverside, CA
Horse Trailer Repairs Riverside, CA
Trailer Awning Replacement Riverside, CA
Trailer Awning Replacement Riverside, CA
Rv Travel Trailer Repair Near Me Riverside, CA
Horse Trailer Repair Near Me Riverside, CA
Camper Trailer Service Riverside, CA
Travel Trailer Siding Repair Riverside, CA
Travel Trailer Window Replacement Riverside, CA
Companies Near Me Seo Company Near Me Riverside, CA
In Seo Consultant Riverside, CA
OCRV Center
Table of Contents
- – Cargo Trailer Repair Riverside, CA
- – OCRV Center
- – Travel Trailer Siding Repair Riverside, CA
- – Travel Trailer Furniture Riverside, CA
- – Travel Trailer Siding Repair Riverside, CA
- – Fifth Wheel Repair Near Me Riverside, CA
- – Trailer Floor Repair Riverside, CA
- – Travel Trailer Replacement Windows Riverside...
- – Rv Trailer Repair Shop Riverside, CA
- – Rv Travel Trailer Repair Near Me Riverside, CA
- – Travel Trailer Roof Replacement Riverside, CA
- – Rv Trailer Repair Near Me Riverside, CA
- – Rv Travel Trailer Repair Near Me Riverside, CA
- – Travel Trailer Ceiling Repair Riverside, CA
- – Travel Trailer Ceiling Repair Riverside, CA
- – Travel Trailer Floor Repair Riverside, CA
- – OCRV Center
Latest Posts
Rv Trailer Roof Repair Pomona
Rv Sofa Sleeper La Habra
Camping Repair Near Me Orange
More
Latest Posts
Rv Trailer Roof Repair Pomona
Rv Sofa Sleeper La Habra
Camping Repair Near Me Orange