All Categories
Featured
Table of Contents
- – Camping Trailer Repair Near Me Rowland Heights, CA
- – OCRV Center
- – Rv Trailer Repair Shop Rowland Heights, CA
- – Camper Trailer Service Rowland Heights, CA
- – Camper Floor Repair Near Me Rowland Heights, CA
- – Travel Trailer Floor Repair Rowland Heights, CA
- – Rv Trailer Repair Near Me Rowland Heights, CA
- – 5th Wheel Repair Near Me Rowland Heights, CA
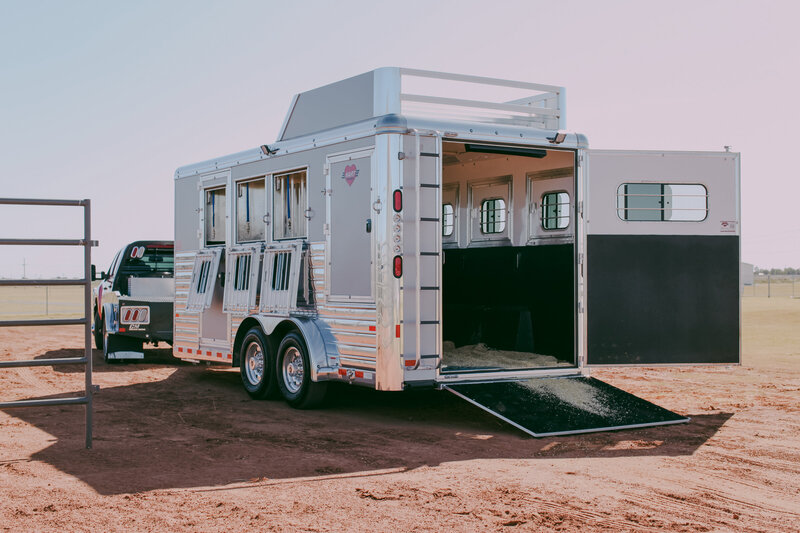
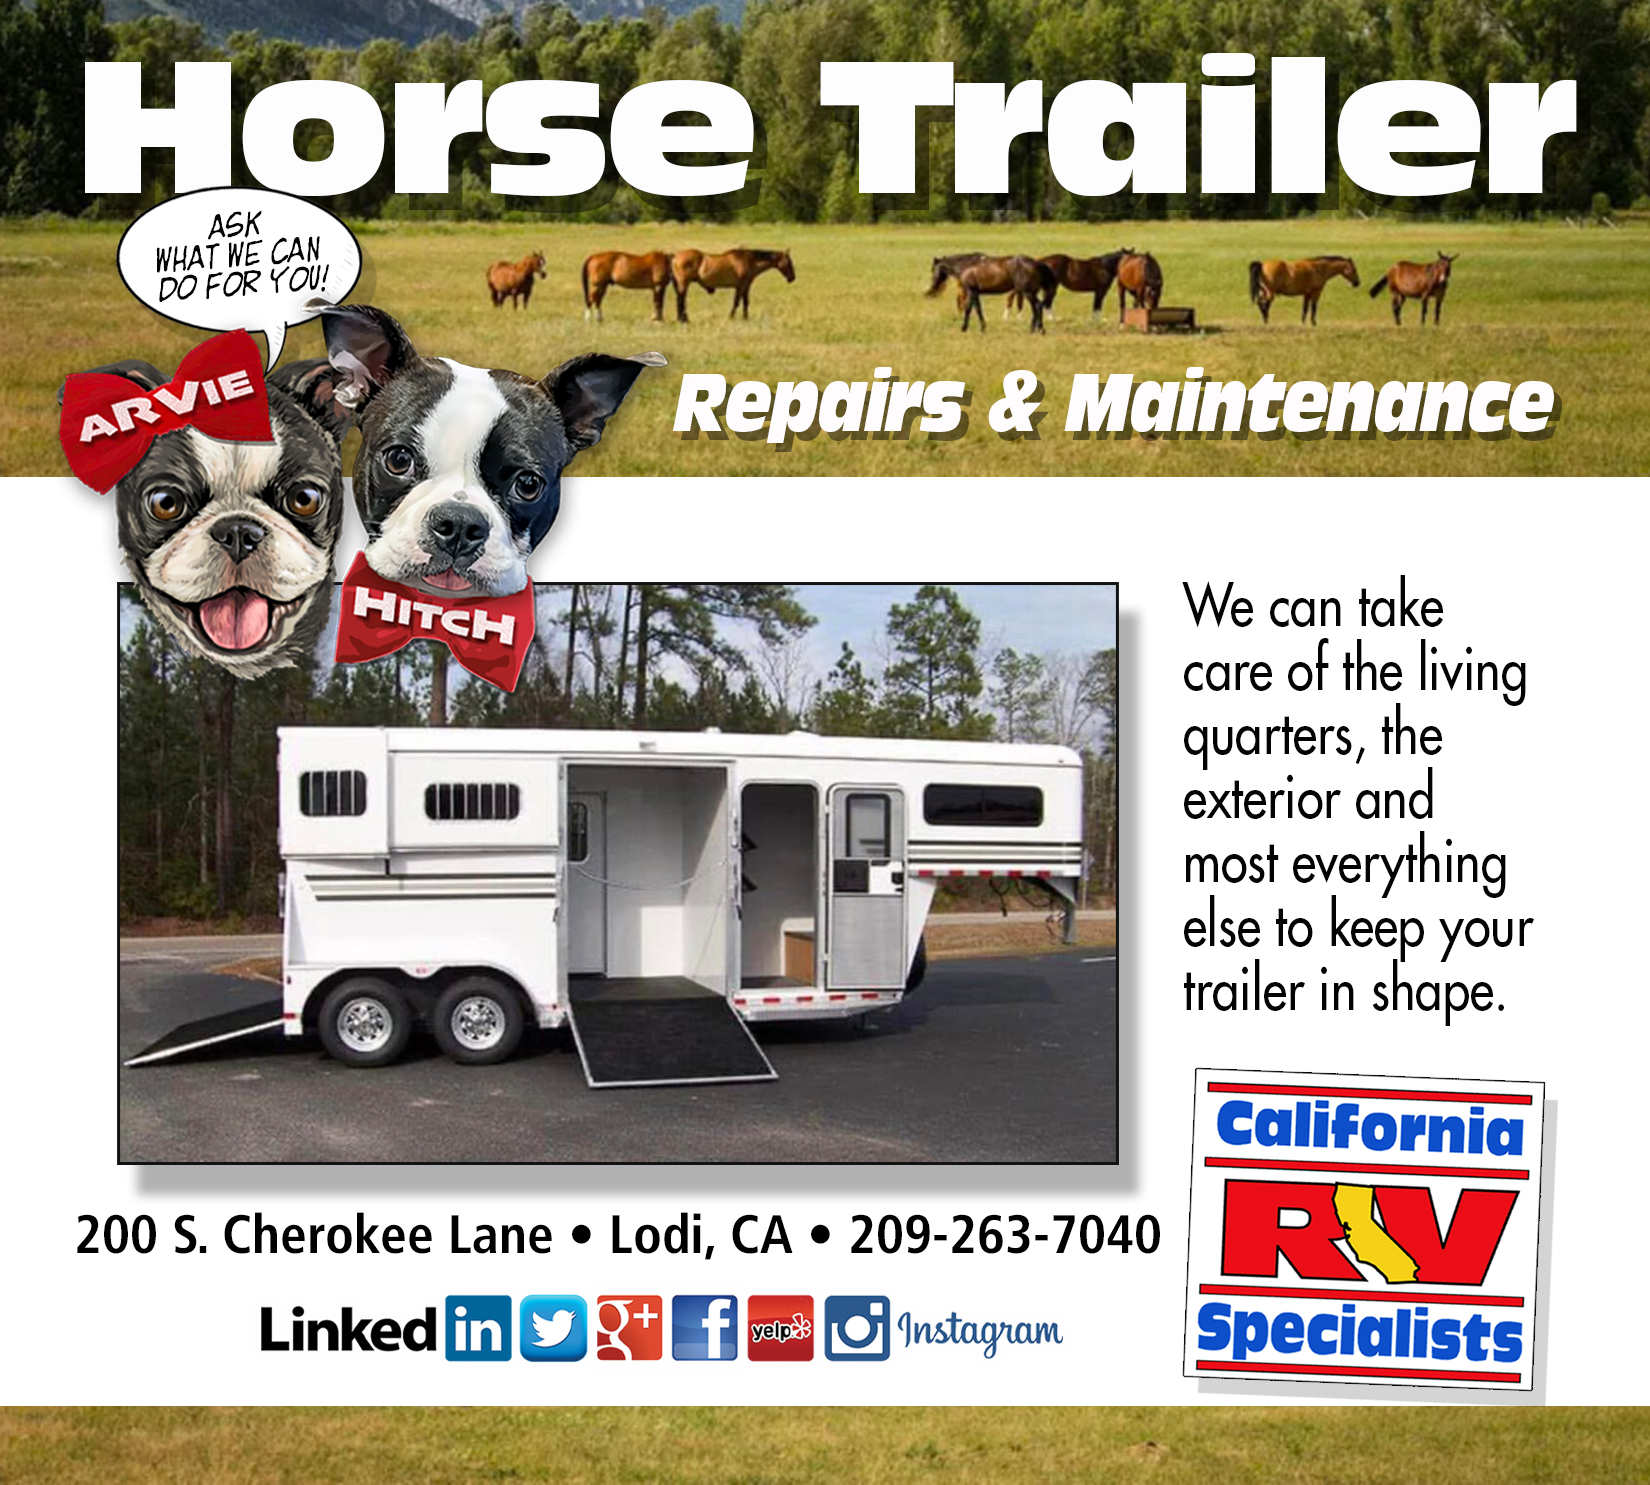
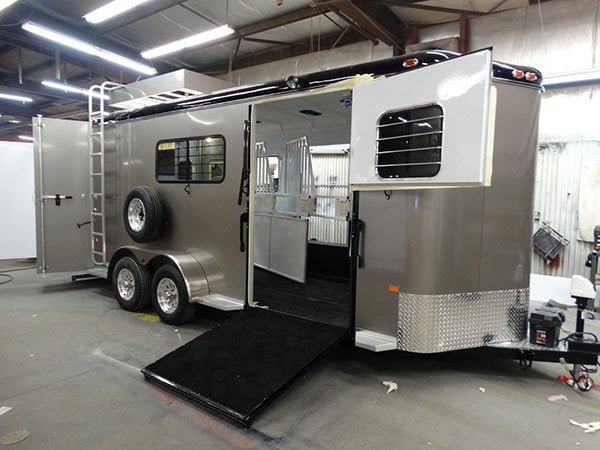
- – Horse Trailer Repairs Rowland Heights, CA
- – Horse Trailer Repair Near Me Rowland Heights...
- – Trailer Floor Repair Rowland Heights, CA
- – Travel Trailer Service Rowland Heights, CA
- – Trailer Roof Repair Rowland Heights, CA
- – Camping Trailer Repair Near Me Rowland Heigh...
- – Horse Trailer Repairs Rowland Heights, CA
- – OCRV Center
Camping Trailer Repair Near Me Rowland Heights, CA
Check and preserve excellent tire stress. Keep your tires covered or inside to safeguard from the sunlight.
If you exist with a level while you are taking a trip and a spare tire needs to be installed, then transforming your own tire is a reasonable job. Make certain you know what are you are doing and have the proper tools like a jack and a torque wrench. If you do not have a torque wrench (and most individuals do not), you'll only be rating the specific torque of the nuts on your tire studs.
Rv Trailer Repair Shop Rowland Heights, CA
This will certainly guarantee you have the correct poundage and torque of the nut on the axle stud. If a tire service isn't offered, you would certainly need to tighten up the nuts to within your physical capability and then have them checked by a professional tire store asap - Trailer Roof Repair Rowland Heights. If the nuts have a low torque (they aren't on limited enough), after that you run the risk of the nuts backing off while you get on the roadway
(See photo of a sheared stud to the right.) In short, an improperly applied tire could be really harmful for you and other drivers on the roadway. Besides losing control of your very own rig after a tire failure, the loose tire might undergo the windshield of a close-by vehicle causing injury or also fatality.
If your trailer is under service warranty, we can even schedule the repair and cover the costs involved. Many service warranty covered trailer fixing troubles are very minor and we may send a mobile recreational vehicle Repair Solution for 'on site' repair service. Campers and RVs share numerous of the very same upkeep difficulties as horse trailers.
If you are having a tire concern, a neighborhood tire shop is our referral. "We've never had a concern in any kind of state (or nation for that matter) locating a fixing shop," Brad described.
Camper Trailer Service Rowland Heights, CA
The trailer was equipped with a stainless steel mirror on the front of the gooseneck. After being contacted, we provided 2 repair service alternatives.
When it pertains to trailer repair in Western New york city, General Welding & Fabricating stands apart as the best location. With our substantial experience and dedication to quality, we give top-notch repair service options for trailers of all types. Whether you require brand-new bearings, hubs, frame repair work, or even total axle substitutes, we have the know-how to get the task done.
Camper Floor Repair Near Me Rowland Heights, CA
New Bearings and Hubs: One of the most common concerns with trailers is worn-out or broken bearings and hubs. Defective bearings can lead to excessive rubbing, warmth accumulation, and inevitably, trailer failure.
In some instances, repairing a trailer might not be the most affordable or practical remedy. If the damage to your trailer is comprehensive or if it's even more affordable to change particular components, we supply high-grade replacement alternatives.
Travel Trailer Floor Repair Rowland Heights, CA
With our proficiency in trailer layout and construction, we assure a seamless fit and optimal performance. Customer-Oriented Strategy: At General Welding & Fabricating, customer satisfaction goes to the leading edge of every little thing we do. We pride ourselves on our commitment to extraordinary solution, prompt repair services, and reasonable pricing. Our skilled group puts in the time to comprehend your demands, assess the condition of your trailer, and recommend the ideal strategy.
We can do any repairs in-house and will certainly see to it your trailer passes NYS examination. We have actually seen steed in every condition: From derogatory flooring boards to busted axles. We can repair and inspect your Horse Trailers to assure your investments are safely moved! It does not matter the dimension of your fleet, we can obtain your trailers in, evaluated, and on your method for the spring period.
Offering Farmington Hills, Farmington, Novi, Livonia, Northville Considering That 1958 When it comes to your horses, safety constantly comes initially. Before you load your equines right into the trailer, make sure to hook up and execute a short assessment of the tires and lights. Maintain a tire scale convenient and examine that the tire is holding the appropriate pressure (called PSI).
Dry rot can happen even if the tire step still looks excellent, and once those splits reveal up, your tire ends up being endangered. Constantly examine the stress when the tires are chilly.
Rv Trailer Repair Near Me Rowland Heights, CA
The appropriate pressure for your horse trailer tires is situated right on the tires. Most tire blowouts occur because a tire wasn't effectively blown up, so take a few minutes to inspect prior to you leave.
When it pertains to trailer fixing in Western New York, General Welding & Fabricating stands apart as the best location. With our extensive experience and dedication to excellence, we offer first-class fixing solutions for trailers of all kinds. Whether you need brand-new bearings, centers, framework repair work, or even total axle substitutes, we have the know-how to finish the job.
New Bearings and Hubs: One of the most common concerns with trailers is worn-out or broken bearings and hubs. Damaged bearings can lead to excessive friction, warmth build-up, and inevitably, trailer failure.
5th Wheel Repair Near Me Rowland Heights, CA
To Fix or Replace? We Do Both! In many cases, fixing a trailer might not be one of the most economical or sensible solution. At General Welding & Fabricating, we supply you with straightforward and transparent suggestions. If the damage to your trailer is extensive or if it's even more cost-effective to change specific elements, we provide premium substitute choices too.
With our proficiency in trailer design and construction, we guarantee a smooth fit and ideal performance. Our seasoned group takes the time to recognize your demands, assess the condition of your trailer, and advise the finest program of action.
We can do any type of fixings internal and will certainly make certain your trailer passes NYS assessment. We've seen steed in every condition: From degrading flooring boards to broken axles. We can fix and examine your Steed Trailers to assure your investments are securely transferred! It does not matter the dimension of your fleet, we can obtain your trailers in, inspected, and on your way for the springtime period.
Horse Trailer Repairs Rowland Heights, CA
Offering Farmington Hills, Farmington, Novi, Livonia, Northville Since 1958 When it pertains to your horses, safety constantly precedes. Before you fill your equines right into the trailer, make certain to connect and do a quick examination of the tires and lights. Maintain a tire scale convenient and inspect that the tire is holding the proper stress (called PSI).
Dry rot can take place also if the tire tread still looks wonderful, and as soon as those cracks appear, your tire becomes compromised. And once more, remember to check your extra tires also. As a result of dry rot, you must intend on replacing tires every three to 5 years no matter look. Constantly inspect the pressure when the tires are chilly.
Horse Trailer Repair Near Me Rowland Heights, CA
And do not forget the spare tires. The right stress for your equine trailer tires lies right on the tires. The majority of tire blowouts occur since a tire wasn't correctly pumped up, so take a couple of minutes to examine before you leave. Steed trailers call for details tires, primarily since of the tons they're lugging.
When it involves trailer repair service in Western New York, General Welding & Fabricating sticks out as the go-to destination. With our substantial experience and commitment to excellence, we offer excellent repair service solutions for trailers of all types. Whether you require new bearings, centers, structure repairs, or perhaps total axle replacements, we have the know-how to finish the job.
New Bearings and Hubs: One of the most common concerns with trailers is damaged or broken bearings and hubs. Malfunctioning bearings can lead to excessive rubbing, warmth buildup, and eventually, trailer failing.
Trailer Floor Repair Rowland Heights, CA
To Take care of or Change? We Do Both! In many cases, repairing a trailer might not be the most economical or useful remedy. At General Welding & Fabricating, we provide you with sincere and clear suggestions. If the damage to your trailer is comprehensive or if it's even more economical to replace certain parts, we provide top quality substitute options too.
With our knowledge in trailer layout and manufacture, we ensure a seamless fit and ideal efficiency. Customer-Oriented Method: At General Welding & Fabricating, consumer satisfaction is at the leading edge of whatever we do. We pride ourselves on our dedication to exceptional solution, prompt fixings, and fair pricing. Our experienced group takes the time to comprehend your needs, evaluate the condition of your trailer, and advise the ideal strategy.
We can do any repairs internal and will make sure your trailer passes NYS inspection. We can repair and examine your Horse Trailers to guarantee your financial investments are securely delivered!
Travel Trailer Service Rowland Heights, CA
Offering Farmington Hills, Farmington, Novi, Livonia, Northville Considering That 1958 When it comes to your equines, safety and security constantly comes. Before you pack your horses into the trailer, make sure to link and perform a brief examination of the tires and lights. Keep a tire gauge handy and examine that the tire is holding the correct stress (called PSI).
Dry rot can take place even if the tire walk still looks excellent, and once those fractures show up, your tire comes to be compromised. Always examine the stress when the tires are cold.
Trailer Roof Repair Rowland Heights, CA
The proper pressure for your horse trailer tires is located right on the tires. The majority of tire blowouts occur because a tire had not been correctly inflated, so take a couple of mins to examine prior to you leave.
When it concerns trailer repair service in Western New york city, General Welding & Fabricating attracts attention as the best location. With our comprehensive experience and commitment to quality, we give excellent repair remedies for trailers of all types. Whether you need brand-new bearings, hubs, frame repair work, or perhaps total axle replacements, we have the proficiency to obtain the task done.
New Bearings and Hubs: One of the most common concerns with trailers is worn-out or damaged bearings and hubs. Defective bearings can lead to excessive rubbing, warm build-up, and eventually, trailer failure.
In some situations, repairing a trailer might not be the most cost-effective or practical remedy. If the damage to your trailer is comprehensive or if it's more affordable to replace specific elements, we offer premium substitute alternatives.
Camping Trailer Repair Near Me Rowland Heights, CA
With our expertise in trailer style and manufacture, we guarantee a smooth fit and optimal performance. Our knowledgeable team takes the time to comprehend your requirements, assess the condition of your trailer, and suggest the ideal training course of activity.
We can do any type of repair work internal and will make certain your trailer passes NYS evaluation. We have actually seen equine in every condition: From degrading flooring boards to damaged axles. We can fix and examine your Horse Trailers to guarantee your investments are securely transferred! It matters not the size of your fleet, we can get your trailers in, examined, and on your method for the springtime season.
Serving Farmington Hills, Farmington, Novi, Livonia, Northville Considering That 1958 When it comes to your equines, security constantly comes. Prior to you pack your horses into the trailer, be certain to attach and execute a short inspection of the tires and lights. Keep a tire scale convenient and check that the tire is holding the correct pressure (understood as PSI).
Horse Trailer Repairs Rowland Heights, CA
Dry rot can occur also if the tire tread still looks fantastic, and when those fractures reveal up, your tire becomes compromised. Constantly check the pressure when the tires are chilly.
OCRV Center
Address: 23281 La Palma Ave Yorba Linda, CA 92887Phone: (714) 909-1444
Email: [email protected]
OCRV Center
And do not neglect the extra tires. The proper stress for your steed trailer tires lies right on the tires. Many tire blowouts occur because a tire wasn't appropriately blown up, so take a few minutes to inspect before you leave. Steed trailers require specific tires, largely due to the lots they're bring.
Rv Trailer Repair Shop Rowland Heights, CATravel Trailer Roof Replacement Rowland Heights, CA
Travel Trailer Service Rowland Heights, CA
Trailer Floor Repair Rowland Heights, CA
Rv Trailer Service Near Me Rowland Heights, CA
Cargo Trailer Repair Rowland Heights, CA
Travel Trailer Service Rowland Heights, CA
Travel Trailer Ceiling Repair Rowland Heights, CA
5th Wheel Repair Near Me Rowland Heights, CA
Fifth Wheel Service Rowland Heights, CA
Rv Trailer Service Near Me Rowland Heights, CA
Trailer Window Replacement Rowland Heights, CA
Travel Trailer Repairs Rowland Heights, CA
5th Wheel Repair Near Me Rowland Heights, CA
Fifth Wheel Service Rowland Heights, CA
Travel Trailer Replacement Windows Rowland Heights, CA
Rv Trailer Repair Shops Near Me Rowland Heights, CA
Trailer Floor Repair Rowland Heights, CA
Rv Trailer Repair Shop Rowland Heights, CA
Travel Trailer Siding Repair Rowland Heights, CA
Camper Trailer Service Rowland Heights, CA
Travel Trailer Roof Replacement Rowland Heights, CA
Horse Trailer Repair Near Me Rowland Heights, CA
Travel Trailer Ceiling Repair Rowland Heights, CA
Travel Trailer Repairs Rowland Heights, CA
Cargo Trailer Repair Rowland Heights, CA
Travel Trailer Repairs Rowland Heights, CA
Travel Trailer Furniture Rowland Heights, CA
Fifth Wheel Repair Near Me Rowland Heights, CA
Fifth Wheel Service Rowland Heights, CA
Horse Trailer Repairs Rowland Heights, CA
Rv Trailer Repair Shops Near Me Rowland Heights, CA
Travel Trailer Roof Replacement Rowland Heights, CA
Fifth Wheel Repair Near Me Rowland Heights, CA
Trailer Awning Replacement Rowland Heights, CA
Rv Trailer Repair Shop Rowland Heights, CA
Trailer Window Replacement Rowland Heights, CA
Rv Trailer Repair Shop Rowland Heights, CA
Rv Trailer Repair Shops Near Me Rowland Heights, CA
Fifth Wheel Service Rowland Heights, CA
Trailer Awning Replacement Rowland Heights, CA
Trailer Roof Repair Rowland Heights, CA
Travel Trailer Siding Repair Rowland Heights, CA
Rv Trailer Service Near Me Rowland Heights, CA
Trailer Window Replacement Rowland Heights, CA
5th Wheel Repair Near Me Rowland Heights, CA
Camper Trailer Service Rowland Heights, CA
Rv Trailer Repair Shop Rowland Heights, CA
Travel Trailer Repairs Rowland Heights, CA
Camping Trailer Repair Near Me Rowland Heights, CA
Travel Trailer Awning Replacement Rowland Heights, CA
Travel Trailer Floor Repair Rowland Heights, CA
Horse Trailer Repairs Rowland Heights, CA
Travel Trailer Furniture Rowland Heights, CA
Rv Trailer Repair Near Me Rowland Heights, CA
Rv Trailer Repair Shop Rowland Heights, CA
Rv Trailer Service Near Me Rowland Heights, CA
Travel Trailer Repairs Rowland Heights, CA
Rv Trailer Service Near Me Rowland Heights, CA
Rv Travel Trailer Repair Near Me Rowland Heights, CA
Travel Trailer Awning Replacement Rowland Heights, CA
Rv Trailer Repair Near Me Rowland Heights, CA
Trailer Floor Repair Rowland Heights, CA
Rv Trailer Service Near Me Rowland Heights, CA
Trailer Floor Repair Rowland Heights, CA
Travel Trailer Siding Repair Rowland Heights, CA
Trailer Windows Replacement Rowland Heights, CA
Travel Trailer Roof Replacement Rowland Heights, CA
Rv Trailer Repair Shop Rowland Heights, CA
Rv Trailer Repair Shops Near Me Rowland Heights, CA
Trailer Roof Repair Rowland Heights, CA
Horse Trailer Repair Near Me Rowland Heights, CA
Horse Trailer Repairs Rowland Heights, CA
Trailer Window Replacement Rowland Heights, CA
Travel Trailer Siding Repair Rowland Heights, CA
Rv Trailer Repair Shop Rowland Heights, CA
Rv Travel Trailer Repair Near Me Rowland Heights, CA
Trailer Restoration Rowland Heights, CA
Find A Good Top Seo Company Rowland Heights, CA
Close To Seo Agencies Rowland Heights, CA
OCRV Center
Table of Contents
- – Camping Trailer Repair Near Me Rowland Heights, CA
- – OCRV Center
- – Rv Trailer Repair Shop Rowland Heights, CA
- – Camper Trailer Service Rowland Heights, CA
- – Camper Floor Repair Near Me Rowland Heights, CA
- – Travel Trailer Floor Repair Rowland Heights, CA
- – Rv Trailer Repair Near Me Rowland Heights, CA
- – 5th Wheel Repair Near Me Rowland Heights, CA
- – Horse Trailer Repairs Rowland Heights, CA
- – Horse Trailer Repair Near Me Rowland Heights...
- – Trailer Floor Repair Rowland Heights, CA
- – Travel Trailer Service Rowland Heights, CA
- – Trailer Roof Repair Rowland Heights, CA
- – Camping Trailer Repair Near Me Rowland Heigh...
- – Horse Trailer Repairs Rowland Heights, CA
- – OCRV Center
Latest Posts
Mission Viejo Cheapest Insurance For Seniors
Health Insurance Plans For Family Laguna Niguel
Key Man Insurance Quote Rancho Santa Margarita
More
Latest Posts
Mission Viejo Cheapest Insurance For Seniors
Health Insurance Plans For Family Laguna Niguel
Key Man Insurance Quote Rancho Santa Margarita